Mar 152023
 
  1. Start a new project (or save a copy of your test project)
  2. Come up with an idea for a game called “Blackout” about a city in the Blitz – think of:
    • The aim – work through levels, get to as many houses and black them out,
    • what characters and backgrounds you will need – main character, enemies – ARP, spies, dogs,
    • controls – keyboard, mouse, 1 player/2 player
    • lives, coins, points, timed
    • levels
  3. Use blocks from Scratch Games Toolkit

Week 1:

  • Make spirtes – characters, doors, coins, movin objects….,
  • Make backgrounds – intro screen, game over, levels
  • Add variables for points, lives
  • Add messages for game states
  • Code ontrols and movement – ketboard controls, gravity, jumping….

Week2:

  • Code interaction between sprites
  • Losing lives, gaining points, changing levels
Jan 022023
 
  1. 5 minutes of touch typing
  2. This term’s project big picture
  3. Learning journey
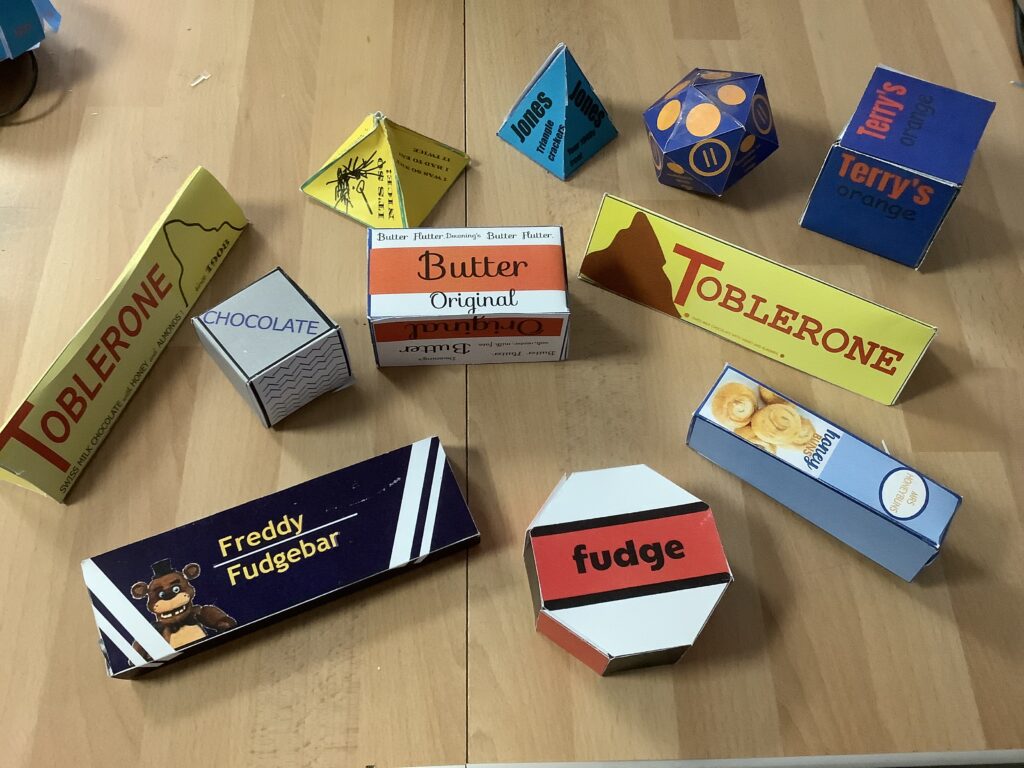
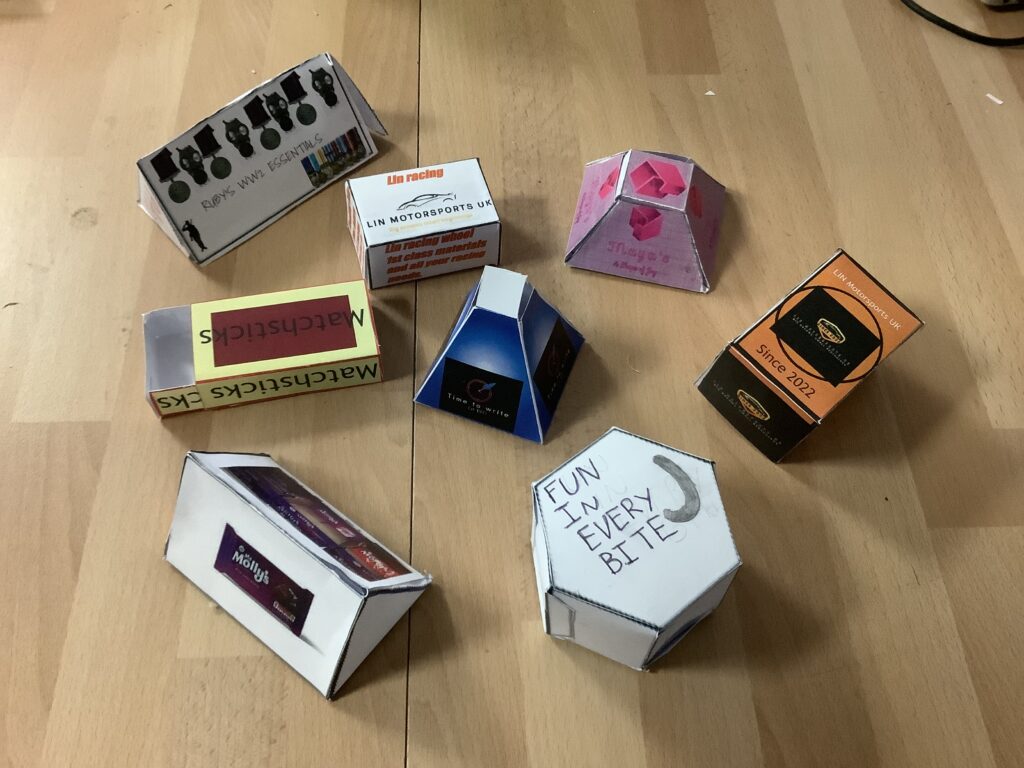
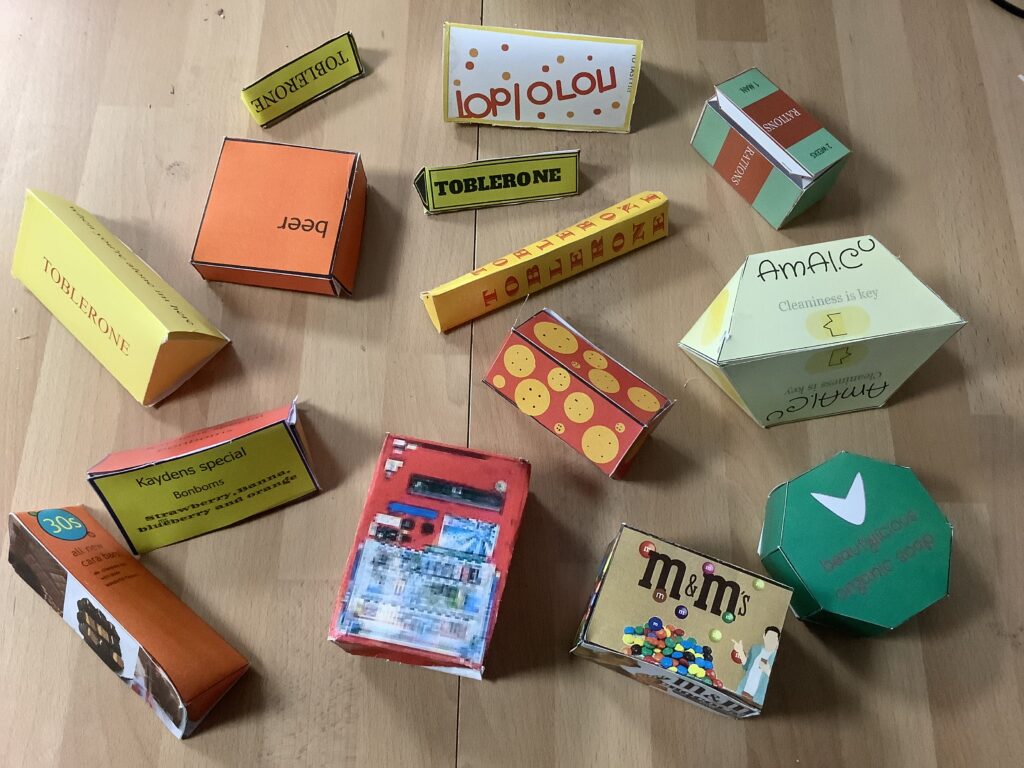
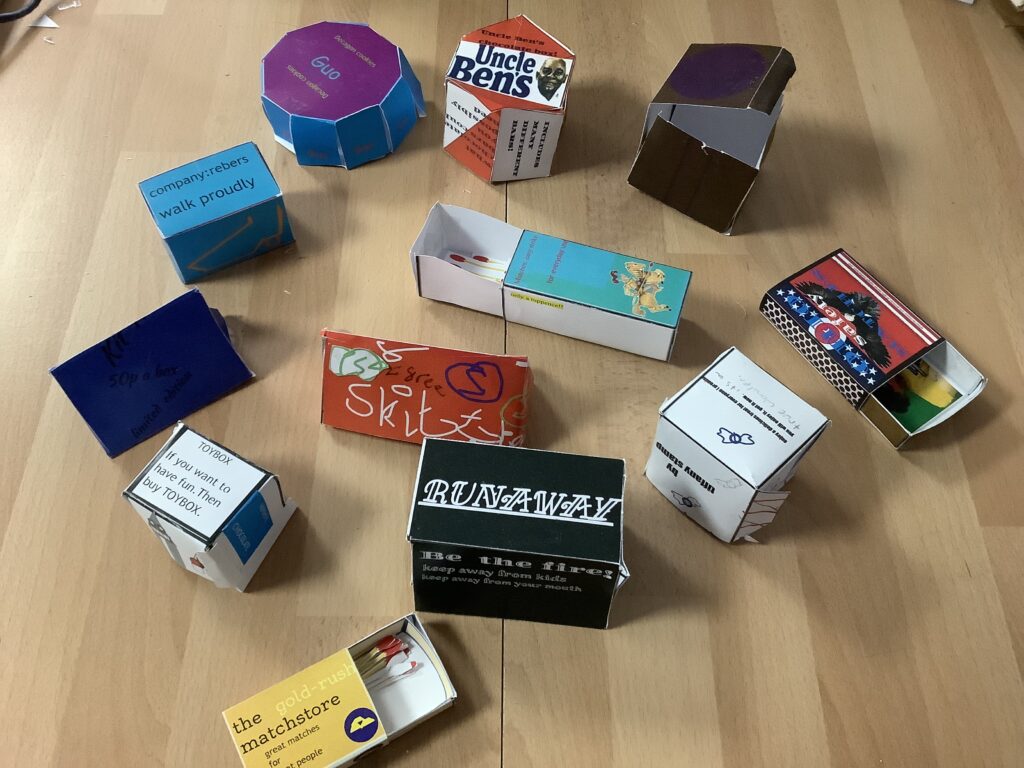
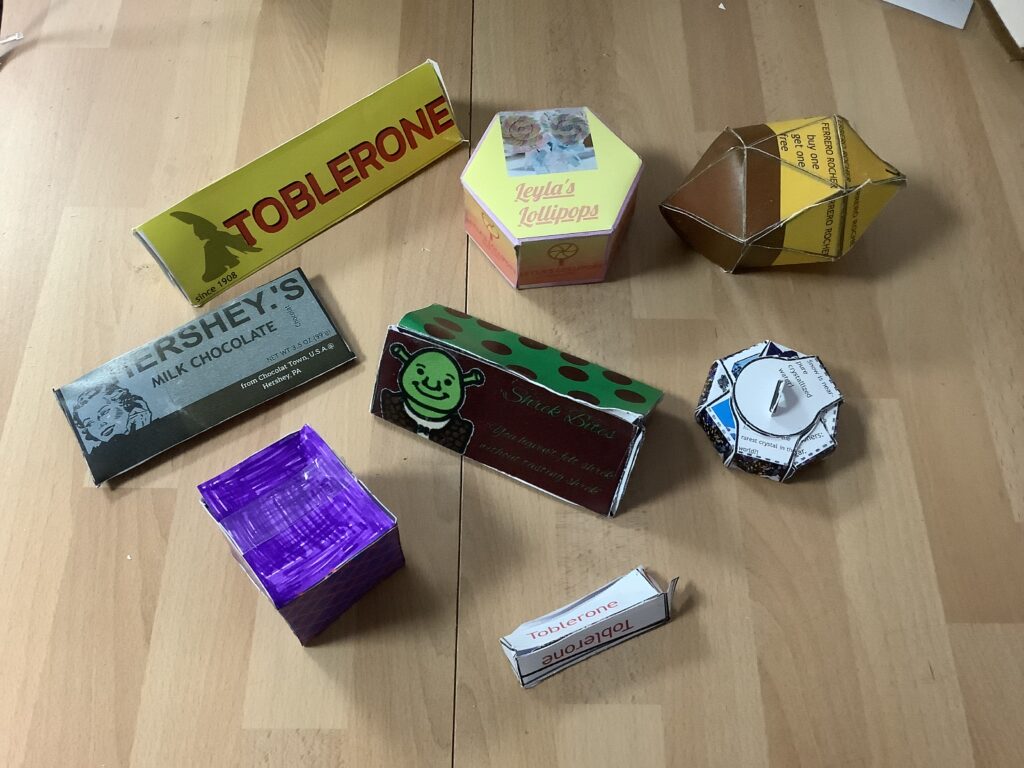
    • Look at boxes
    • Nets
    • Researching box styles
    • creating nets
    • Decorating in 40’s style
    • cutting, scoring and gluing box

1 Look at boxes

  • What makes it interesting?
  • Why is it that shape?
  • How many sides? What shapes?
  • Does it have a lid?
  • How does it open?

2 Explore nets

  • Goto Polypad (one of the Mathigon tools)
  • Drag out some 3d solids and unfold them to see their nets. This only shows one net – there are different nets for the same 3d shapes.
  • Create your own nets by dragging out 2d shapes then selecting and folding to make 3d shapes.
  • Do a Google image search for “3d shapes nets”. Copy and paste useful examples to a j2e5 page.

3 Research WW2 boxes

  • Search for example of boxes from WW2 times
  • Copy and paste useful examples to a j2e5 page

4 Creating nets

  • Decide on a box shape
  • in j2e5, create the net with gluing tabs
  • if in doubt, include a tab – you can always cut it off if you don’t need it
  • Make sure shapes are exactly sized and positioned – very small mistakes will mean your net doesn’t fold up.
  • include your name on the page

5 Create box design – draw shapes, write and style text

  1. Look at your research into 19040s boxes
  2. Write the text for the box
    • company, product name, slogan, information….
    • make it realistic (but you may need to make it up)
  3. Choose fonts and colours
  4. Draw graphics
    • background, stripes, shapes, logo
    • You are designing it, so no Google images

Sucess criteria

  • Name on sheet
  • Save as “P2P…..box” or “S2P….box” or “W2P….box” (Pine/Spruce/Willow to print)
  • Get rid of any spare pages – it should be just one page
  • Accurate box net
  • Gluing tabs
  • Product name and company on most sides
  • Adveritsing slogan
  • Information
  • Logo or simple shapes/colours
  • Fonts and colours chosen carefully
  • Net filled in a colour (unless it is white) – not whole page coloured

6 Cut, score, glue final box

  1. Cut out

Finished?

  • Check success criteria carefully
  • Go to iLearn2 login page
  • Login with code on the whiteboard
  • Work through the unit using Google Slides

2023 Boxes

Jan 202021
 

The Big picture

We are learning how to use Google Slides (by exploring it ourselves) and how to give an effective presentation talk using our Slides by getting feedback from others.

Choose a WW2 topic – Create a Google Slides presentation – Give a talk using your presentation – Create other information presentations

1 Choose one of the WW2 topics

  1. WW2 planes
  2. The land army
  3. WW2 ships
  4. WW2 tanks
  5. The life of a WW2 soldier
  6. The blackout
  7. The Battle of Britain
  8. Anne Frank
  9. Or suggest a title in the comments and I will get back to you.

2 What different ways can we present information?

  • Let’s make a list.  Later we will list their features and think about how we can create effective examples.

3 What is a “Powerpoint” presentation?

  • Purpose – to show onscreen while you (the expert) talk about the subject
    • Not an ebook – just for people to read, they will be listening to you talk – givign details of what is on the screen
  • Format
    • Simple, clear, clean
    • Notes – not full sentences – it’s not an ebook
    • Just the key information
    • Add speaker notes below the slides for you to remember the extra info that you need to give – but again, don’t write in full sentences – nobady want to hear youread – we want to hear you talk confidently about the subject.

3 Create your presentation in Google Slides

  • In Google Classroom (Class 21), open WW2 slides
  • Explore the tools as you create your presentation
  • 3-5 slides, a few key facts on each slide, pictures, titles
  • Prepare your talking (not reading) – you could write “speaker notes” under each slide

4 Style choices

  • Decide on a font size, font, colour – one or two that work together
  • Use a theme or make sure slides feel part of the same presentation – colours, design, layout

5 Success criteria

  • 3-5 slides; 10-15 key facts
  • Simple layout
  • Consistent theme – on or two colours, fonts
  • Balanced slides – same gaps, margins between elements
  • Clear key information – no sentences
  • Speaker notes if requred to remind you of details not on slides
  • Talk through your presentation fluently with expression

6 Present!

  • Use your presentation to give a 1 minute talk ot your learning partner.
  • Get some useful feedback – don’t settle for “good” – push for comments that will help you improve your Slides and speaking.
    • What went well…
    • Even better if…
  • Go back to your Slides and improve them based on the feedback
  • Give the talk again – was it more effective? Get some more useful feedback…

Finished?

  • Make a new slide on the same presentation
  • Include the information from the whole presentation on that one slide in the stylle of an information poster.
Jan 102020
 

Lesson 1

  1. Check email
  2. Follow link in email  to Google Classroom
  3. Click the link in the comment to go to form and enter your chosen topic.
  4. When groups have been sorted – go to Google Drive, create a new Google Slides.  Share it with your group members.
  5. Decide on one persons Slides and work on that one.
  6. Prepare one slide each
    1. Simple layout
    2. A few notes
    3. A picture or two

Lesson 2

  • Finish own page
  • Communicate online

Lesson 3

  • Agree a style – font size, font,
  • Prepare your talking (not reading)
  • Work to succes criteria (on Google Classroom)