Feb 132023
Feb 012023
Jan 302023
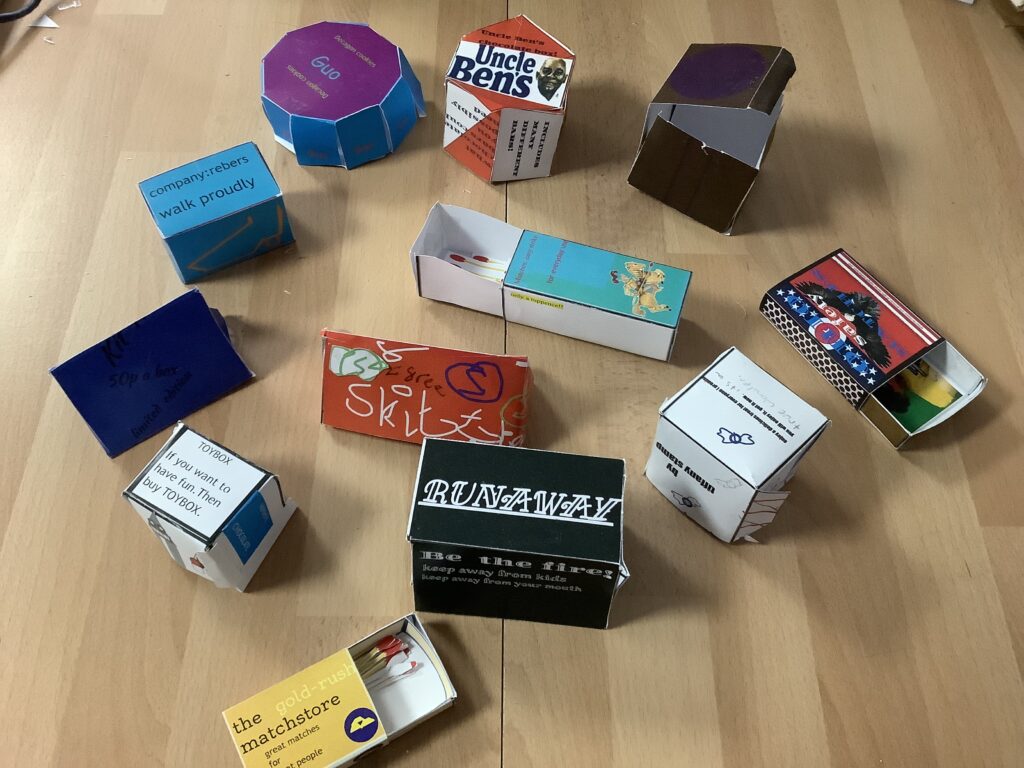
- Open this file: 1950s toy box net
- Put text and images on each face (apart from the bottom) to make the box attractive and persuade someone to buy the product.
Jan 252023
Success criteria
- All information and pictures onto j2e5 page
- Info and pictures on correct pages
- Range of information in sections
- References = list of websites used
Skills
- Find useful websites
- Use keywords to find specific information
- Right-hand click to “copy image” OR drag image to j2e5 tab
- Hightlight text then Right-hand click to “copy”
- “Ctrl v” to paste into j2e5
- Turn pages in j2e5
Jan 062023
How to make a page border in j2e5
Success steps
- log into j2e
- insert picture
- select multiple items by dragging
- click ond drag items to move them
- use duplicate button
Challenge – once you have made a border like in the video, can you:
- create a double border using a different picture
- use the image search in j2e for another image of an old toy
Next steps – create our own pictures in an art program, save and insert them into j2e.
Jan 022023
- 5 minutes of touch typing
- This term’s project big picture
- Learning journey
- Look at boxes
- Nets
- Researching box styles
- creating nets
- Decorating in 40’s style
- cutting, scoring and gluing box
1 Look at boxes
- What makes it interesting?
- Why is it that shape?
- How many sides? What shapes?
- Does it have a lid?
- How does it open?
2 Explore nets
- Goto Polypad (one of the Mathigon tools)
- Drag out some 3d solids and unfold them to see their nets. This only shows one net – there are different nets for the same 3d shapes.
- Create your own nets by dragging out 2d shapes then selecting and folding to make 3d shapes.
- Do a Google image search for “3d shapes nets”. Copy and paste useful examples to a j2e5 page.
3 Research WW2 boxes
- Search for example of boxes from WW2 times
- Copy and paste useful examples to a j2e5 page
4 Creating nets
- Decide on a box shape
- in j2e5, create the net with gluing tabs
- if in doubt, include a tab – you can always cut it off if you don’t need it
- Make sure shapes are exactly sized and positioned – very small mistakes will mean your net doesn’t fold up.
- include your name on the page
5 Create box design – draw shapes, write and style text
- Look at your research into 19040s boxes
- Write the text for the box
- company, product name, slogan, information….
- make it realistic (but you may need to make it up)
- Choose fonts and colours
- Draw graphics
- background, stripes, shapes, logo
- You are designing it, so no Google images
Sucess criteria
- Name on sheet
- Save as “P2P…..box” or “S2P….box” or “W2P….box” (Pine/Spruce/Willow to print)
- Get rid of any spare pages – it should be just one page
- Accurate box net
- Gluing tabs
- Product name and company on most sides
- Adveritsing slogan
- Information
- Logo or simple shapes/colours
- Fonts and colours chosen carefully
- Net filled in a colour (unless it is white) – not whole page coloured
6 Cut, score, glue final box
- Cut out
Finished?
- Check success criteria carefully
- Go to iLearn2 login page
- Login with code on the whiteboard
- Work through the unit using Google Slides
2023 Boxes
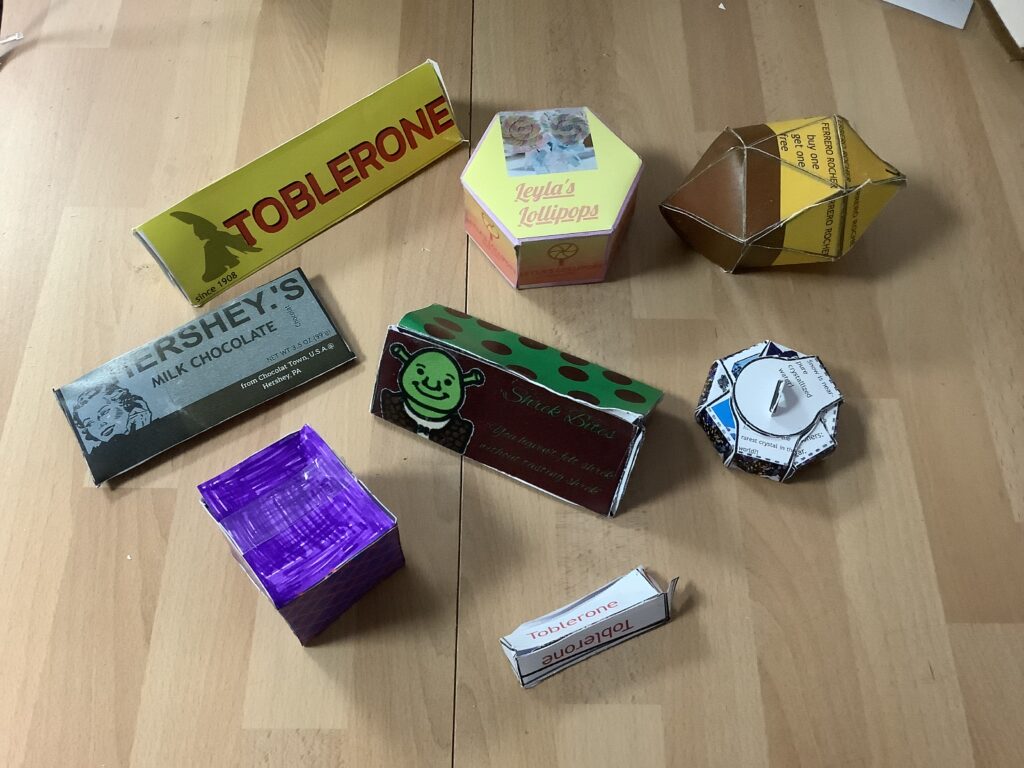
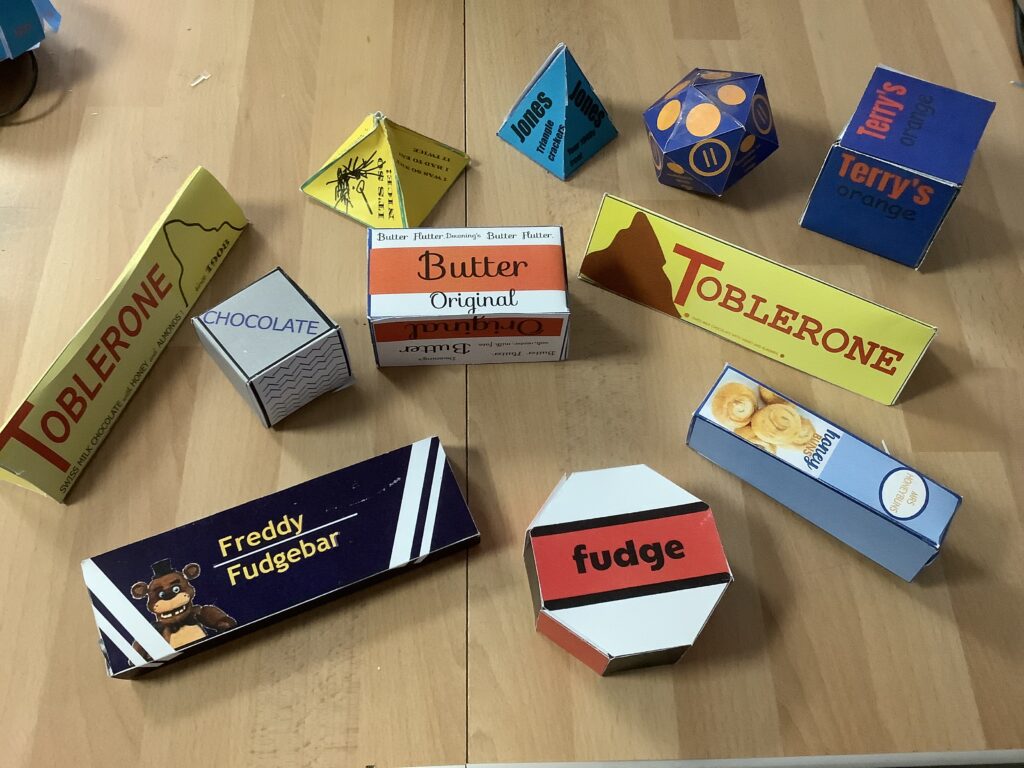
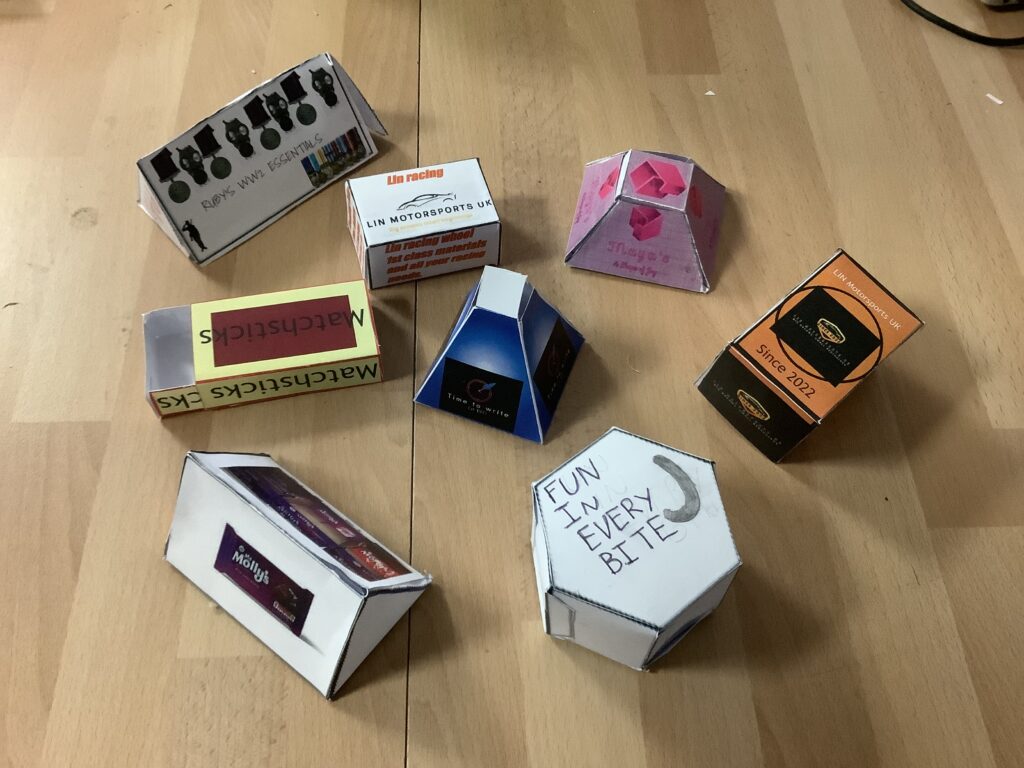
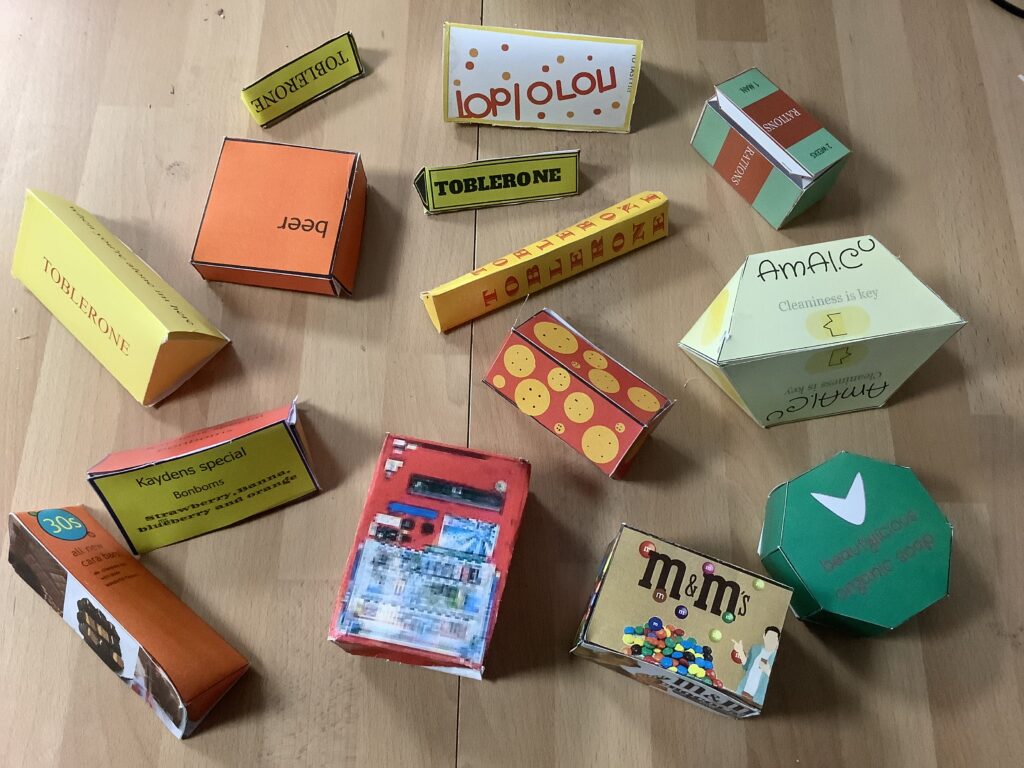
Dec 162022
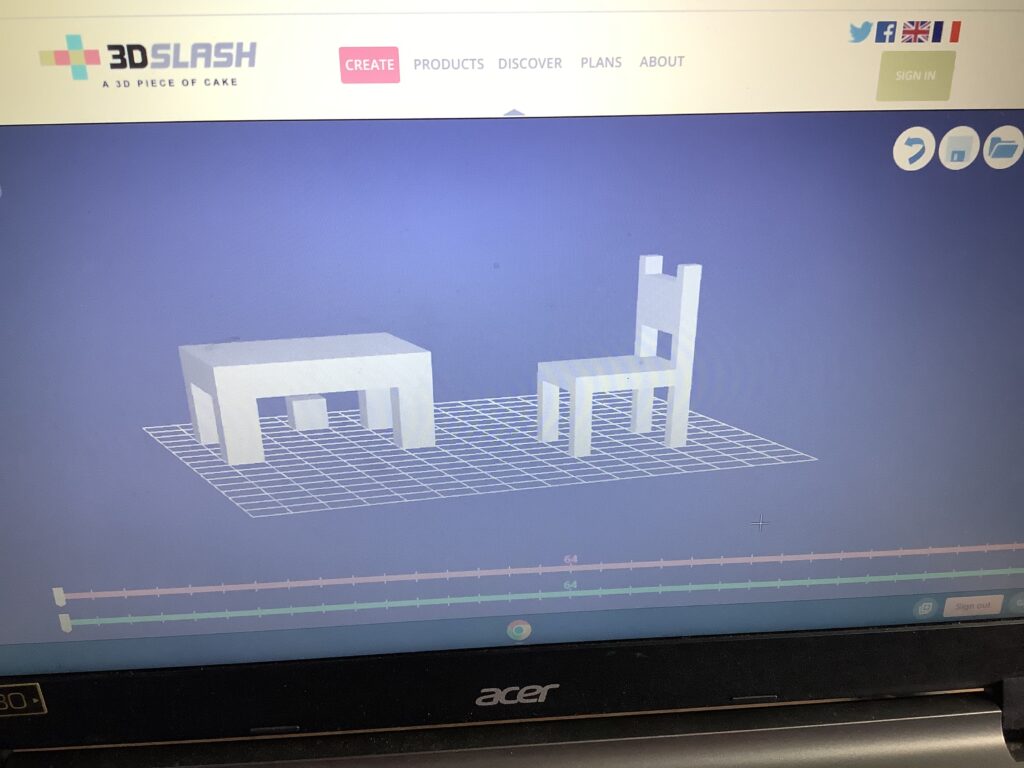
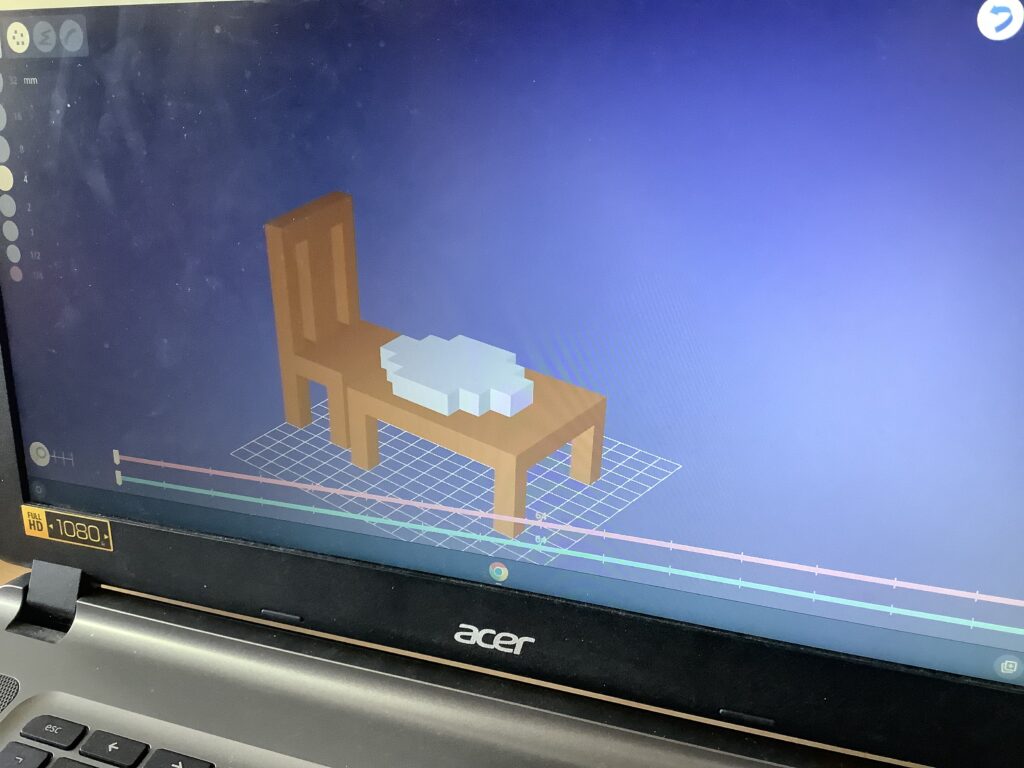
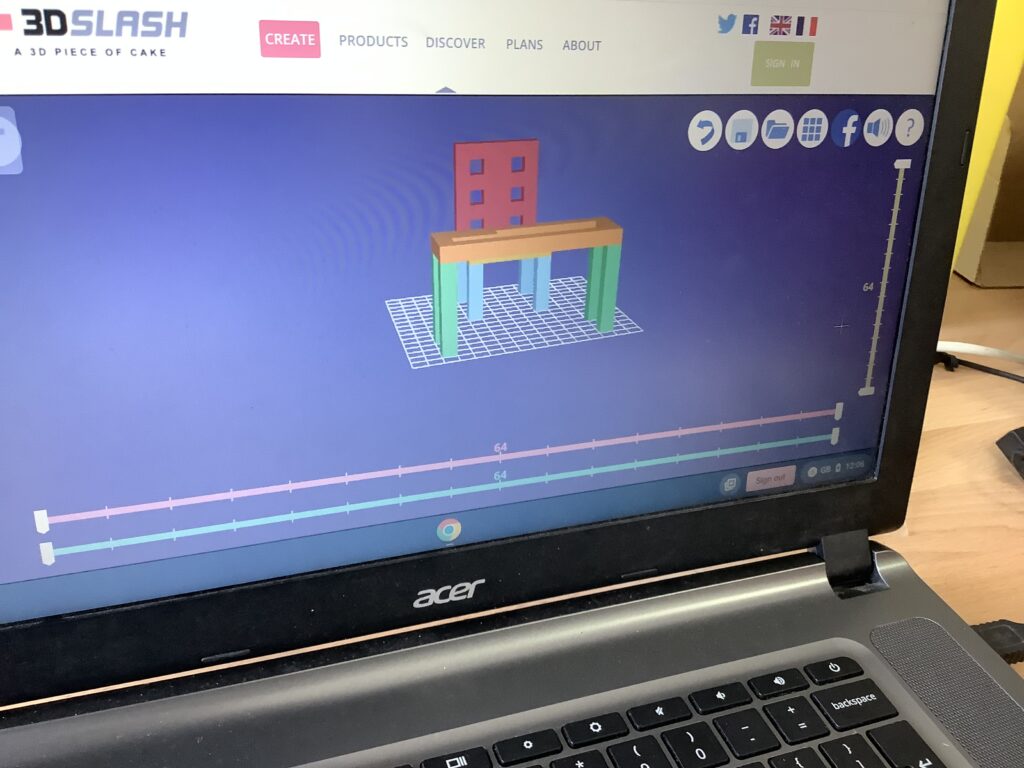
Dec 122022
- 5 mins Typing
- Watch video Earth Shot St Mark’s competition
- Continue with LOGO project
- LOGO self assessment
- Hour of code. Choose an activity from the hour of code and see how far you can get
Nov 172022
See these posts for ideas and techniques. Or click on LOGO on the tag cloud on the right.
- Draw letter rainbows, flowers and shapes
- Stars and shapes 2
- Stars and shapes 1
- The power of procedures with variables
- Use variables to draw spirals
- Use variables to draw shapes
- Random
- Repeat, setxy, procedures
LOGO example files – can you work out how they work?
Nov 162022
This LOGO program uses procedures (like recipes) for each letter then calls them at the very end of the code.
Open these LOGO files. Can you work out what they do? Can you understand the code?
Can you make a procedure to draw:
- an arc of any size and angle?
- the first letter of you rname any size and position on the canvas?
- new logo page, reset, setpensize 5
- code your letter – test it line by line
- make it a procedure: to… end
- replace fd numbers with :size
- compare with the LOGO programs you have looked at to see what else you need to do
Useing any of the procedure above can you make these shapes?


